STEP 1 - INSTALL METAMASK
STEP 2 - CREATE YOUR WALLET
STEP 3 - SET THE WALLET PASSWORD
STEP 4 - RECOVERY PHRASE
STEP 5 - CONNECT TO THE ETHEREUM NETWORK
STEP 6 - IMPORT TMC TO METAMASK
0xBE80Bb8006BCfcFc571Fb47E89E6C456C2643842
STEP 1 - DOWNLOAD TRUST WALLET OR METAMASK APP
STEP 2 - CREATE YOUR WALLET
STEP 3 - BACKUP YOUR PASSPHRASE
STEP 4 - ADD TMC TOKEN
0xBE80Bb8006BCfcFc571Fb47E89E6C456C2643842
HOW TO BUY TMC TOKENS

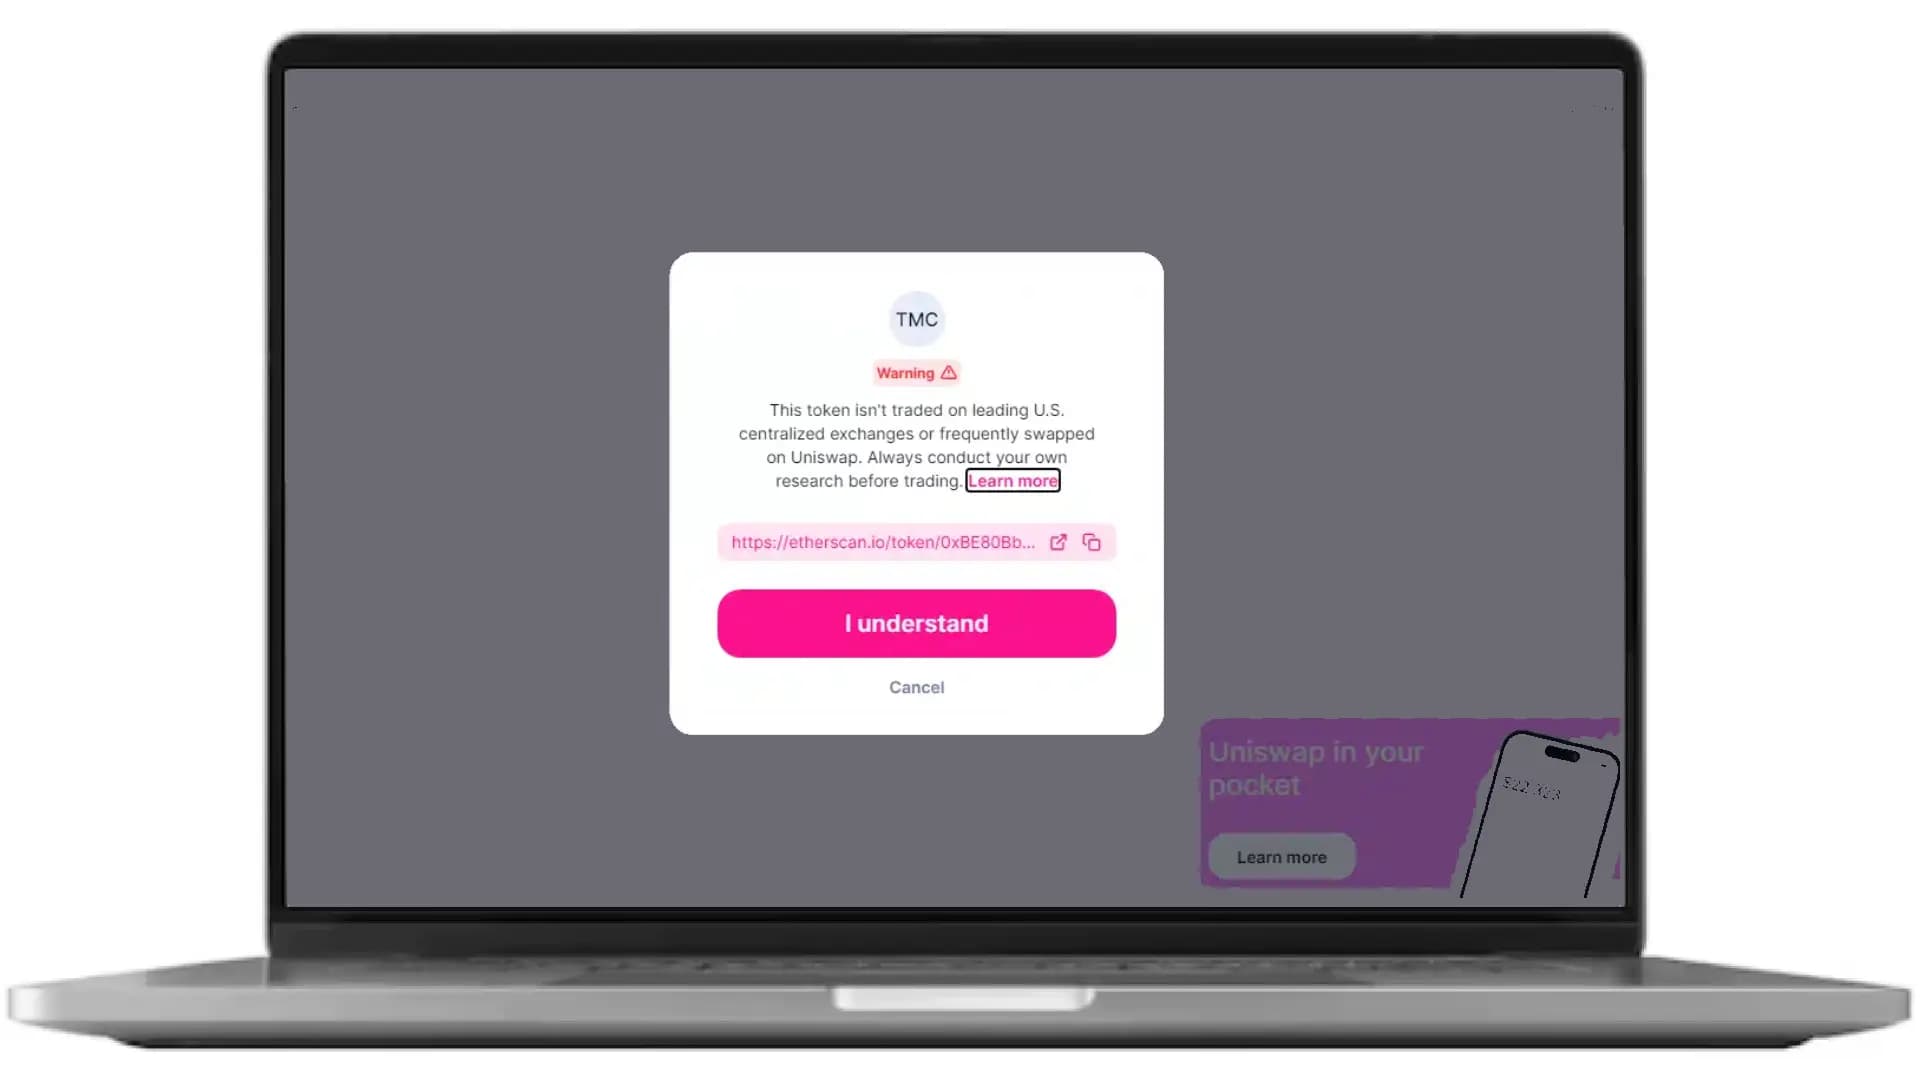
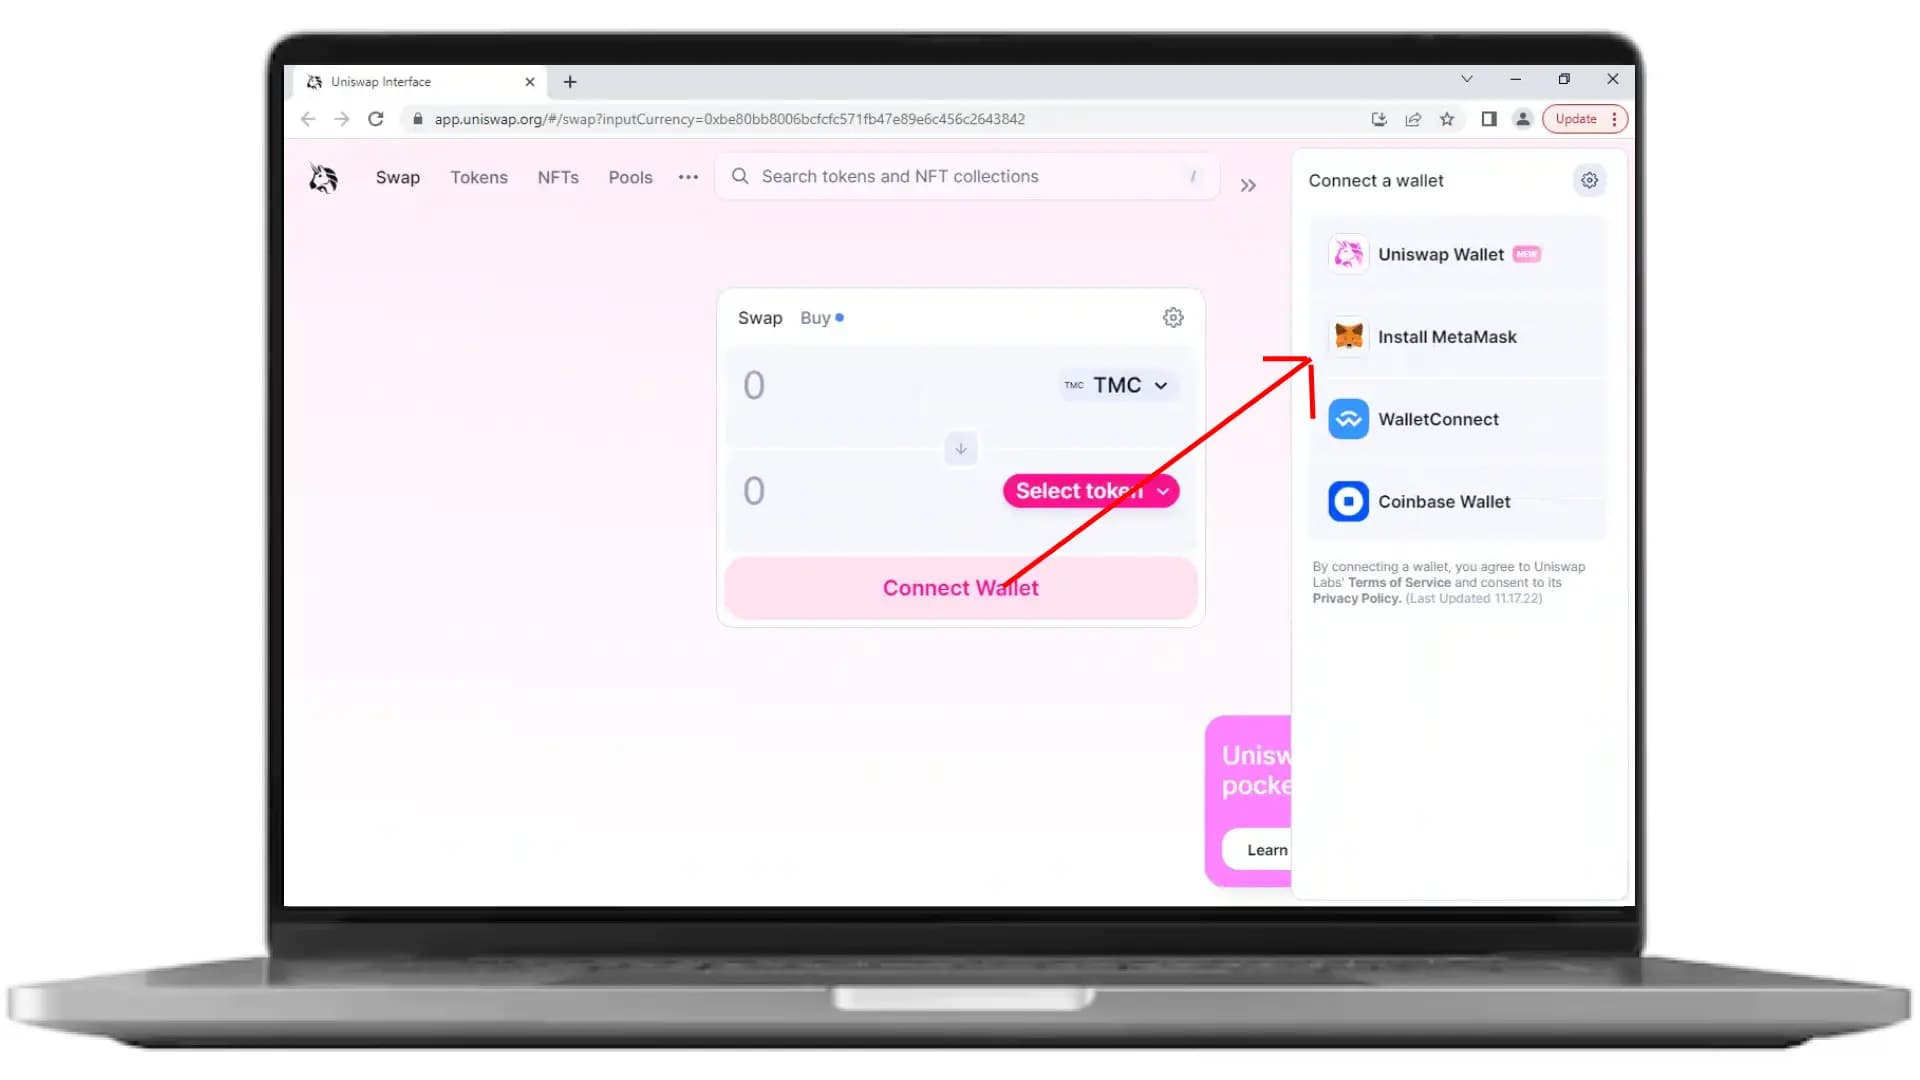
1. Click "I Understand" and then the CONNECT WALLET button and you'll be prompted to a menu to connect your wallet. You will be able to choose the provider to connect your wallet.

2. Choose a provider between Metamask or WalletConnect with the two buttons and click on logo of the fox or the Walletconnect logo to connect with your wallet.
3. Choose WETH to swap. Select the Ethereum network in your wallet. Then click the corresponding BUY button to use your preferred currency.
1. Buying with WETH
Enter the amount of TMC tokens you wish to swap for USDT. Then click SWAP. Before you’re able to proceed, you’ll be prompted to authorise the use of WETH in your wallet. Confirm the authorisation to continue the transaction.
You’ll now need to confirm your purchase. MetaMask will automatically bring up the confirmation window where you can view the details and gas fee for the transaction. A gas fee is paid in ETH to network validators for verifying the transaction. Once you’re happy with the transaction details, click SWAP.
Once the transaction is complete, you’ll see the SUCCESS screen.